
How to Record Audio from Microphone and Speaker in ReactJS with TypeScript: A Complete Guide (2026)
Learn to record audio from both microphone and speaker in a ReactJS app using TypeScript, and how to send it to a server for transcription.

How to Record Audio from Microphone and Speaker in ReactJS with TypeScript: A Complete Guide (2026)
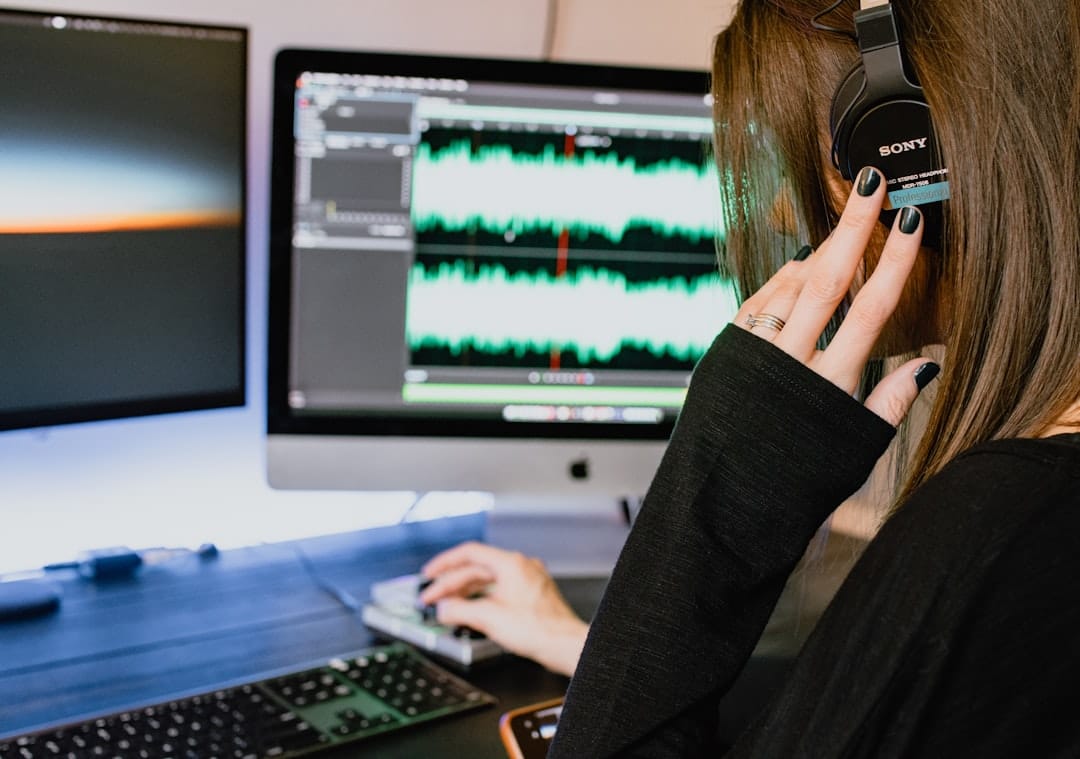
In this tutorial, we'll explore how to record audio from both the microphone and speaker simultaneously in a ReactJS application using TypeScript. This functionality is becoming increasingly important for applications that require audio transcription services or real-time audio processing.
Key Takeaways
- Learn to record audio from both microphone and speaker in ReactJS with TypeScript.
- Understand how to use the MediaRecorder API and Web Audio API.
- Explore sending audio data to a server for transcription.
- Handle common errors and troubleshooting tips.
Introduction
Recording audio from both the microphone and speaker is a common requirement in applications focused on audio analysis, transcription, or communication. While capturing microphone input is straightforward with the MediaRecorder API, capturing system audio (speaker output) requires a bit more effort and understanding of the Web Audio API.
This guide will walk you through setting up a ReactJS project with TypeScript to achieve this. We will cover the installation of necessary libraries, setup of audio capture, and sending the captured audio to a server for transcription.
Prerequisites
- Basic knowledge of ReactJS and TypeScript
- Node.js and npm installed on your machine
- Familiarity with Web APIs (MediaRecorder, Web Audio API)
Step 1: Setting Up Your React Project
First, let's create a new React project using Create React App with TypeScript template:
npx create-react-app audio-recorder --template typescriptNavigate into your project directory:
cd audio-recorderStep 2: Installing Required Packages
We'll need the following packages:
axiosfor sending HTTP requests to the server.react-usefor custom React hooks.
npm install axios react-useStep 3: Setting Up MediaRecorder for Microphone
Start by capturing audio from the microphone using the MediaRecorder API:
import React, { useState, useRef } from 'react';

const AudioRecorder: React.FC = () => {
  const [isRecording, setIsRecording] = useState(false);
  const mediaRecorderRef = useRef(null);

  const startRecording = async () => {
    const stream = await navigator.mediaDevices.getUserMedia({ audio: true });
    const mediaRecorder = new MediaRecorder(stream);
    mediaRecorderRef.current = mediaRecorder;
    mediaRecorder.start();
    setIsRecording(true);
  };

  const stopRecording = () => {
    mediaRecorderRef.current?.stop();
    setIsRecording(false);
  };

  return (


        {isRecording ? 'Stop Recording' : 'Start Recording'}


  );
};

export default AudioRecorder;
Step 4: Capturing Speaker Audio
To capture audio from the speakers, we can use the Web Audio API. This involves capturing the audio context and routing it through a media stream destination:
const captureSpeakerAudio = async () => {
  const audioContext = new (window.AudioContext || window.webkitAudioContext)();
  const audioDestination = audioContext.createMediaStreamDestination();

  // Create an oscillator for demo purposes (this simulates speaker output)
  const oscillator = audioContext.createOscillator();
  oscillator.connect(audioDestination);
  oscillator.start();

  return audioDestination.stream;
};
Step 5: Merging Microphone and Speaker Streams
We need to merge the microphone and speaker streams into a single stream that MediaRecorder can handle:
const mergeStreams = async () => {
  const micStream = await navigator.mediaDevices.getUserMedia({ audio: true });
  const speakerStream = await captureSpeakerAudio();

  const audioContext = new (window.AudioContext || window.webkitAudioContext)();
  const audioSourceMic = audioContext.createMediaStreamSource(micStream);
  const audioSourceSpeaker = audioContext.createMediaStreamSource(speakerStream);

  const audioDestination = audioContext.createMediaStreamDestination();
  audioSourceMic.connect(audioDestination);
  audioSourceSpeaker.connect(audioDestination);

  return audioDestination.stream;
};
Step 6: Sending Audio to the Server
Once the audio is recorded, we can send it to a server for transcription:
import axios from 'axios';

const sendAudioToServer = async (audioBlob: Blob) => {
  const formData = new FormData();
  formData.append('audio', audioBlob, 'audio.wav');

  try {
    const response = await axios.post('https://your-api-endpoint/transcribe', formData, {
      headers: {
        'Content-Type': 'multipart/form-data'
      }
    });
    console.log('Transcription result:', response.data);
  } catch (error) {
    console.error('Error sending audio to server:', error);
  }
};
Step 7: Integrating Everything in React Component
Finally, integrate all the steps into a complete React component:
import React, { useState, useRef } from 'react';
import axios from 'axios';

const AudioRecorder: React.FC = () => {
  const [isRecording, setIsRecording] = useState(false);
  const mediaRecorderRef = useRef(null);
  const audioChunksRef = useRef([]);

  const startRecording = async () => {
    const mergedStream = await mergeStreams();
    const mediaRecorder = new MediaRecorder(mergedStream);
    mediaRecorderRef.current = mediaRecorder;

    mediaRecorder.ondataavailable = (event) => {
      audioChunksRef.current.push(event.data);
    };

    mediaRecorder.onstop = async () => {
      const audioBlob = new Blob(audioChunksRef.current, { type: 'audio/wav' });
      audioChunksRef.current = [];
      await sendAudioToServer(audioBlob);
    };

    mediaRecorder.start();
    setIsRecording(true);
  };

  const stopRecording = () => {
    mediaRecorderRef.current?.stop();
    setIsRecording(false);
  };

  return (


        {isRecording ? 'Stop Recording' : 'Start Recording'}


  );
};

export default AudioRecorder;
Common Errors/Troubleshooting
- Permission Denied Error: Ensure your application has permission to access the microphone. This can be managed through browser settings.
- Audio Context Issues: Audio context might not start if initiated outside of a user action. Ensure it starts within a click event.
- Server Connection Issues: Verify the server endpoint and ensure CORS policies are correctly set up.
Conclusion
By following this guide, you've learned how to capture audio from both the microphone and speakers in a ReactJS application using TypeScript. You've also learned how to send this audio data to a server for transcription. This setup can be a foundation for building advanced audio processing applications.
Frequently Asked Questions
How can I ensure microphone permissions are granted?
Make sure to request permissions using the navigator.mediaDevices.getUserMedia API, and check your browser settings to allow microphone access.
What if the audio context does not start?
Ensure that the audio context is started within a user-initiated event, such as a button click, to comply with browser security policies.
How do I handle CORS issues when sending audio to the server?
Ensure your server is configured to allow CORS requests by setting the appropriate headers, such as Access-Control-Allow-Origin.