
Are you terrified of big pop ups of ‘memory error’ while working on large datasets of deep learning and machine learning (ML) in Jupyter notebook? If you are familiar with the old style Jupyter Notebook you can think of Colab as one such notebook stored in google drive. As students, owning a decent GPU provided by the other cloud must be expensive and thus like for most of the things in the world. Google again comes to your rescue by bringing you Colab. Google Colab allows you to work on big datasets for free in the simplest of ways. It can export data directly from Kaggle or from your local without any fuss.
There are other cloud platforms as well which provide these online cloud environments to learn and improve your python skills. But they come at a high price. Some examples are:
|
Cloud Solutions |
Price/Storage/GPU |
|
Paperspace |
40 cents/Hr (GPU) || 50 GB storage |
|
$0.59/Hr (GPU) || $0.014/GB/day |
|
|
FloydHub |
1.2$/Hr (GPU) |
|
AWS |
$0.90/Hr (GPU) || plus storage charges |
Google Colab not only provides you with free cloud service, it now also assists you with free GPU. Google Colab helps you refine your python programming skills to a new level with deep learning libraries. For instance, PyTorch, Keras, TensorFlow and OpenCV. You can create, upload and store data and share notebooks in Google Colab. This will mount the google drive and import different new directories.
Since most of you are just starting in Google Colab for machine learning, this article will help you glide through how to get started in Google Colab:
· Starting up with Google Colab:
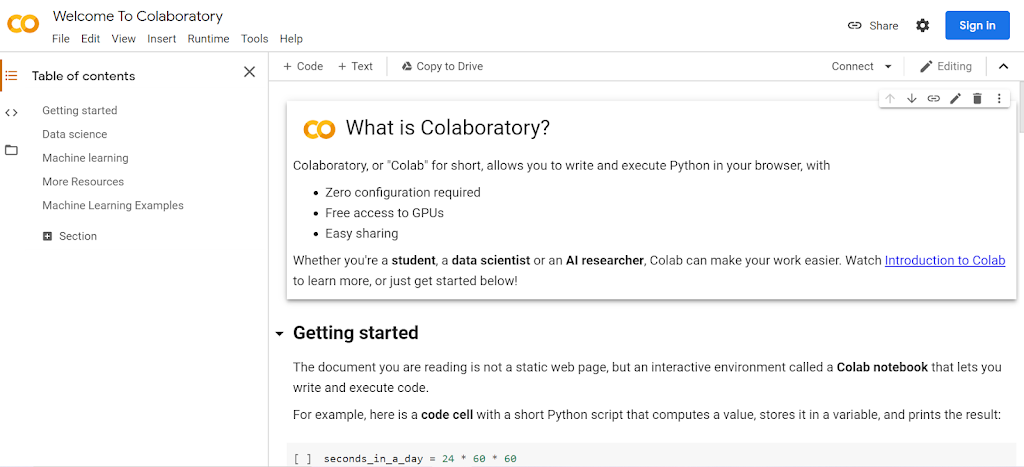
Google Colab is just one click away and you can get started up by clicking on this link. Because of this users can import files or a notebook from the local. With proper authentication users can import a notebook from Google Drive, Kaggle or GitHub.
As you reach on the linked page just click on the file, as you can see in the photo and open new notebook and get started with your Python codes. Now you will get this new feature of just clicking on the name of your notebook and can change it with no fuss at all. So Google Colab is just getting easier by day.
· Outlook of Notebook Document:

A Google Colab notebook consists of cells each of which can contain code text, images and much more. Google Colab connects your notebook to a cloud-based runtime. It will enable you to run python codes without any setup on your machine. Additional code cells are executed with the same run time resulting in rich interactive coding. The Cell output are not limited to simple text however, they can contain any number of rich dynamic outputs. Google Colab also has a built in library of code snippets.
Google Colab notebooks can be shared like a Google Doc, and for this purpose it is important to provide narrative around the code you have executed. Text cells are formatted using markdown, a plain text document that’s rendered on the page. Markdown format is simple and powerful and it allows you to add lists, paragraph and headings.
· Terminal Codes Google Colab Use:
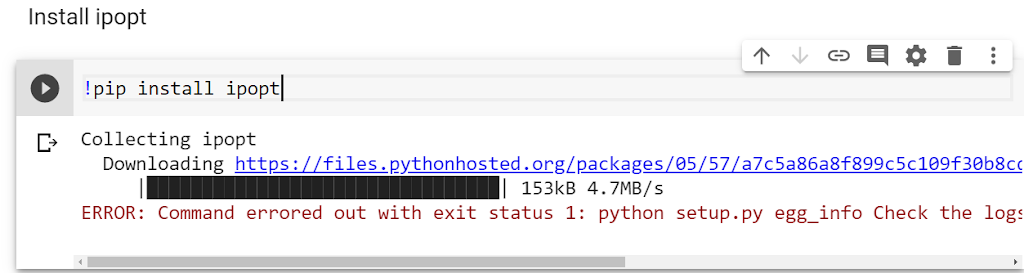
Google Colab allows you to work with terminal codes, and some important libraries are added as default in the Google Colab, like NumPy, Scikit, Python Pandas and Matplotlib, using them is also pretty easy. In case a user isn’t able to find a library, they can install it by following a few simple steps. User can import any library in Colab by running the command import in any other notebook. If the library isn’t available in Colab user can install it with a code of one line:
Ø!pip install library_name
· Selecting and Installing GPU and TensorFlow:
In this part we are going to tell you how to install TensorFlow into Colab and work with different versions of tensor flow such as GPU. The First thing you have to do is to create a new collab. Once the collab is created you will have a new code cell ready for you, now you can write pip command to install tensor flow. PIP is command line tool not a code command so you have to start the line with an exclamation mark so that Colab can understand it. Then when you run the install command it will download and install TensorFlow.
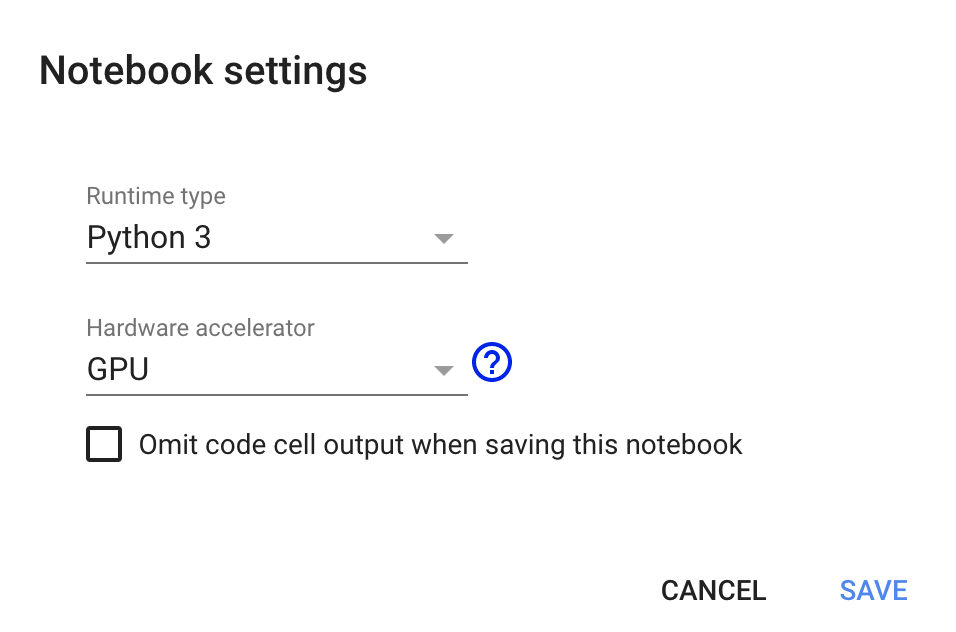
Now if you want to use the GPU for learning. Fist you have to be sure that your run time has a GPU. For this you have to reset all your runtimes and then set the runtime types to GPU, there is are images supporting these queries for you. It may take few moments to allocate it and then launch and then you may install and download the TensorFlow version of GPU.
· Saving your work:
Saving your work is one of the most important parts. You can use the code Command-s. User can also save the notebook from file in the menu bar and there are options of downloading notebook in different formats like ‘download. ipyb’ or ‘download .py.’. You can further save a copy in the drive by going in the menu and following ‘File’ -> ‘Save a Copy in Drive.’
Hope you got a gist of Google Colab and how to get started with Google Colab in a few simple steps. For more information watch this given step by step guide video tutorial .